
How to Make a Dovetail Joint Part 2 Woodworking YouTube
LINKS WORTH CHECKING OUT: Using forstner bits to clear dovetail waste: https://youtu.be/wVd32mfJVUM The innovative Cosman method for hand cut dovetails: https://youtu.be/y-fLkdVRMwE A clever dovetail jig for trim routers:https://youtu.be/dNoKZYNPbUg Trim router half-blind dovetails: https://youtu.be/KrMMK_h5EPc

Dovetail Troubleshooting Part 2 Common Woodworking
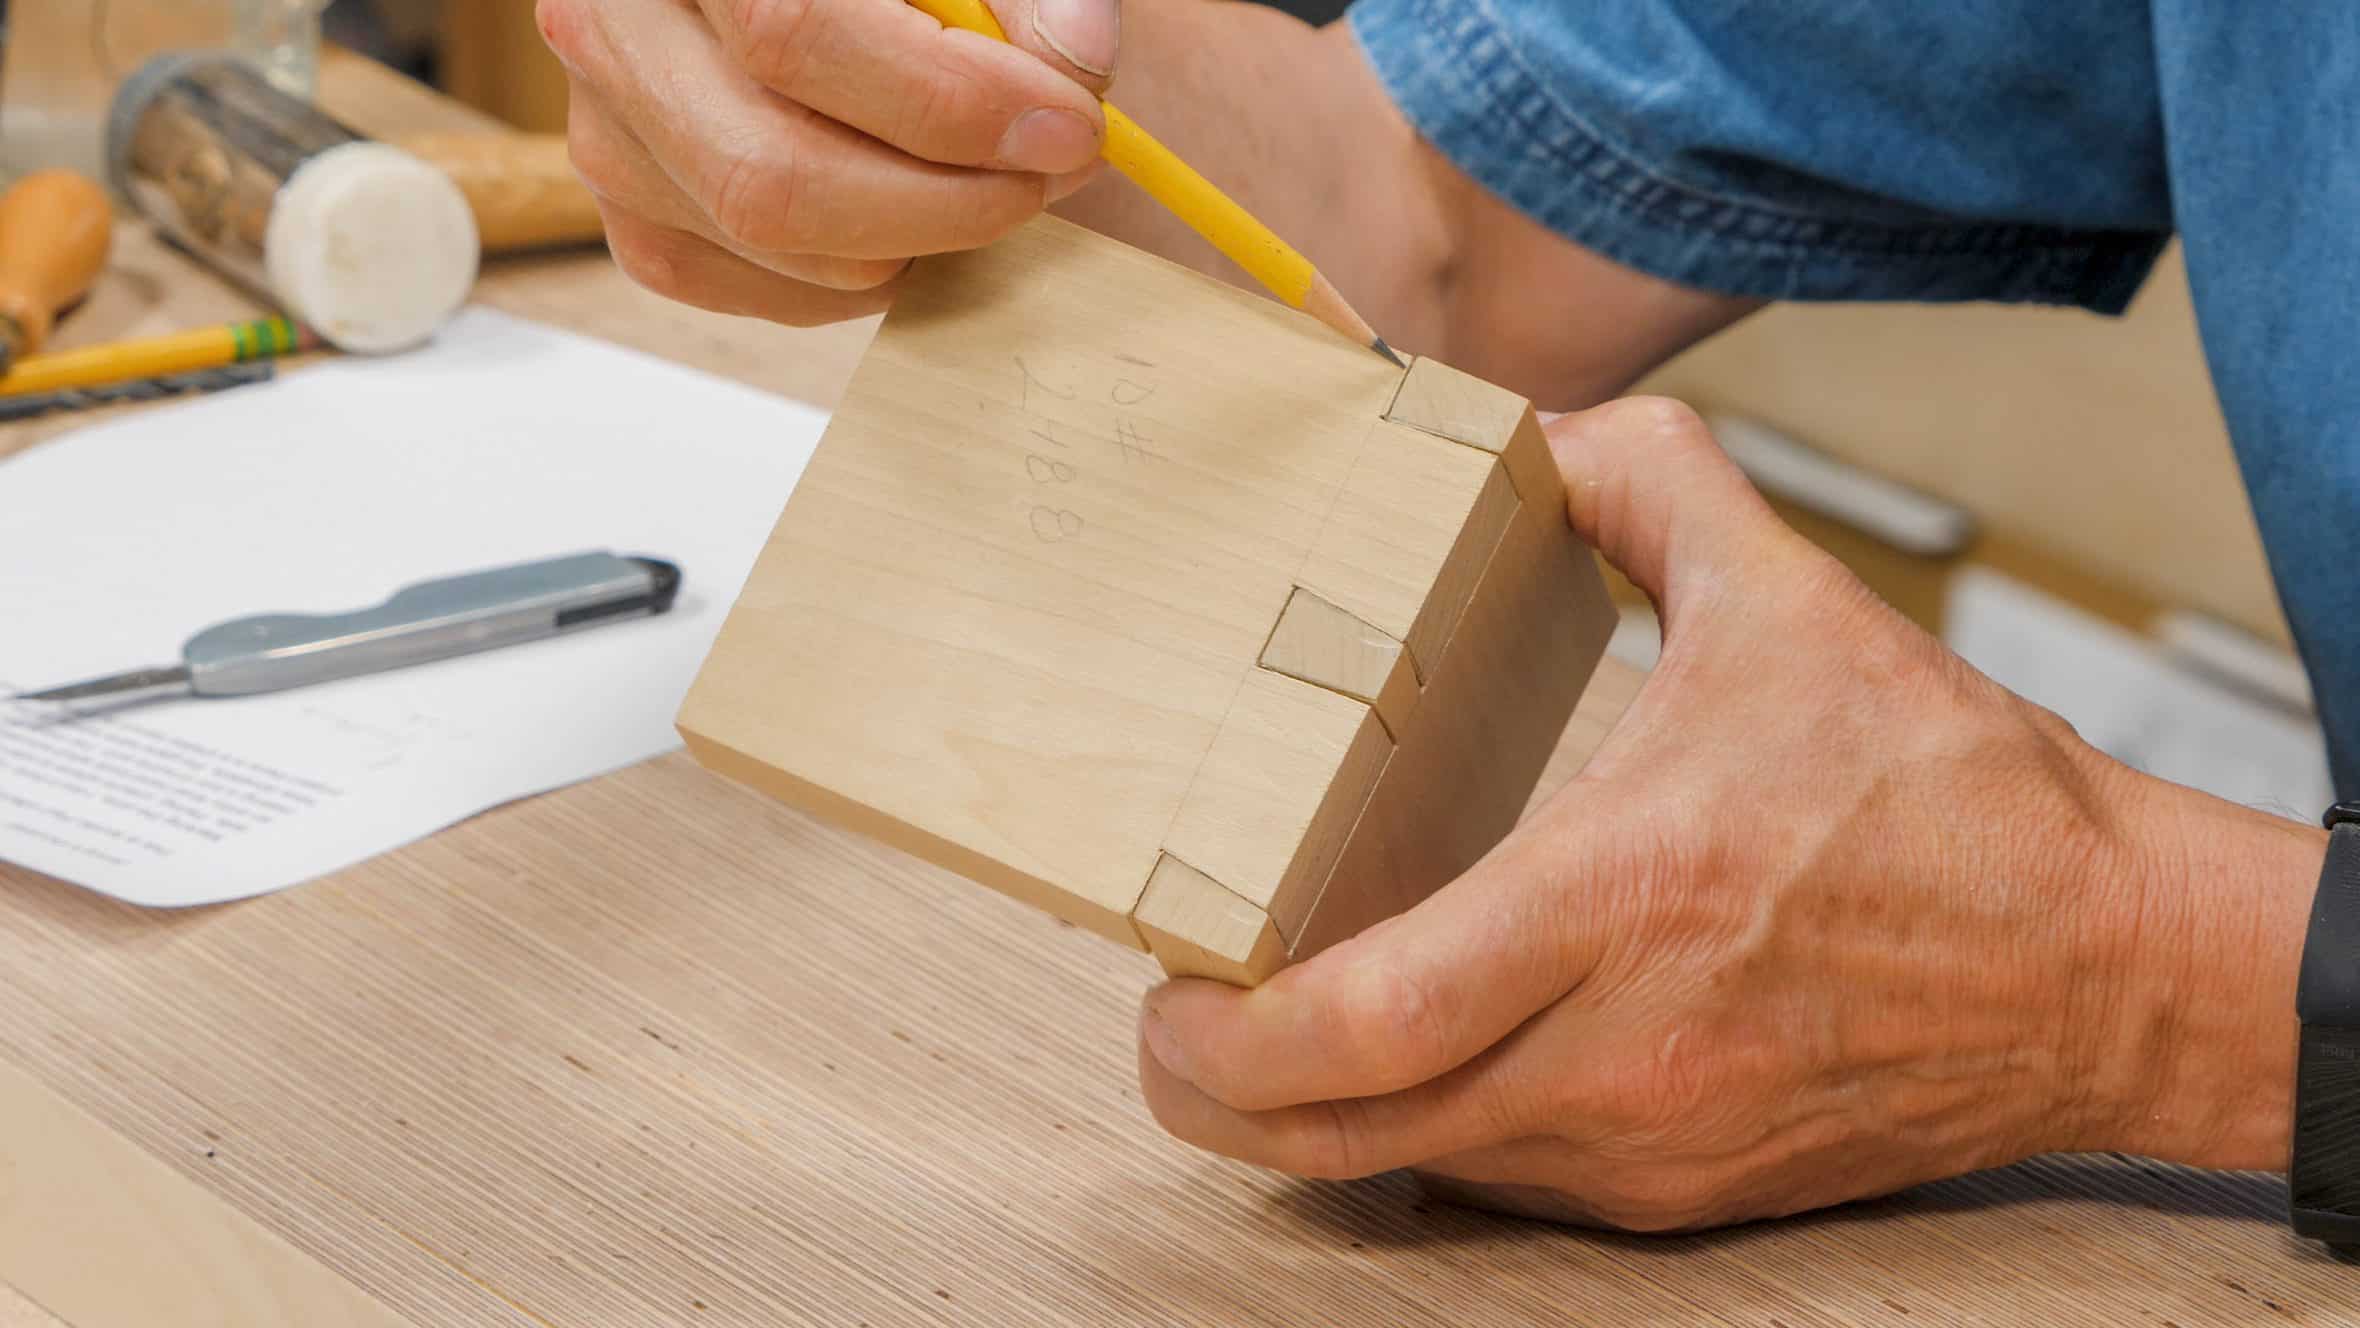
Causes and How to Fix Why is my dovetail joint too loose? Your dovetail is maybe too loose due to some small gaps. When dovetails flop together unhindered, they are too loose. If you tap them together with an 8 # sledge, it means they are too tight. If you can use your fist as a hammer to nudge them together, they are OK.

Dovetail Troubleshooting Part 2 Common Woodworking
HOW TO AVOID IT: Remember this: Dovetail bits use straight template fingers, and straight bits use angled fingers.
Dovetail Troubleshooting Part 2 Common Woodworking
STEP ONE: If the dovetail joints aren't completely pulled apart then use a rubber mallet to gently tap the inside of the drawer to pop apart the joints. STEP TWO: Once the joints are pulled apart clean out any loose or broken wood with a small sharp wood chisel.

Dovetail Troubleshooting Part 2 Common Woodworking
How To Fix Gaps In Dovetails - YouTube 0:00 / 4:57 How To Fix Gaps In Dovetails SimpleCove 44.6K subscribers Subscribe Subscribed 18K views 6 years ago In this short video I show you how I.

How to Repair Damaged Dovetail Joints Little House of Four Creating a beautiful home, one
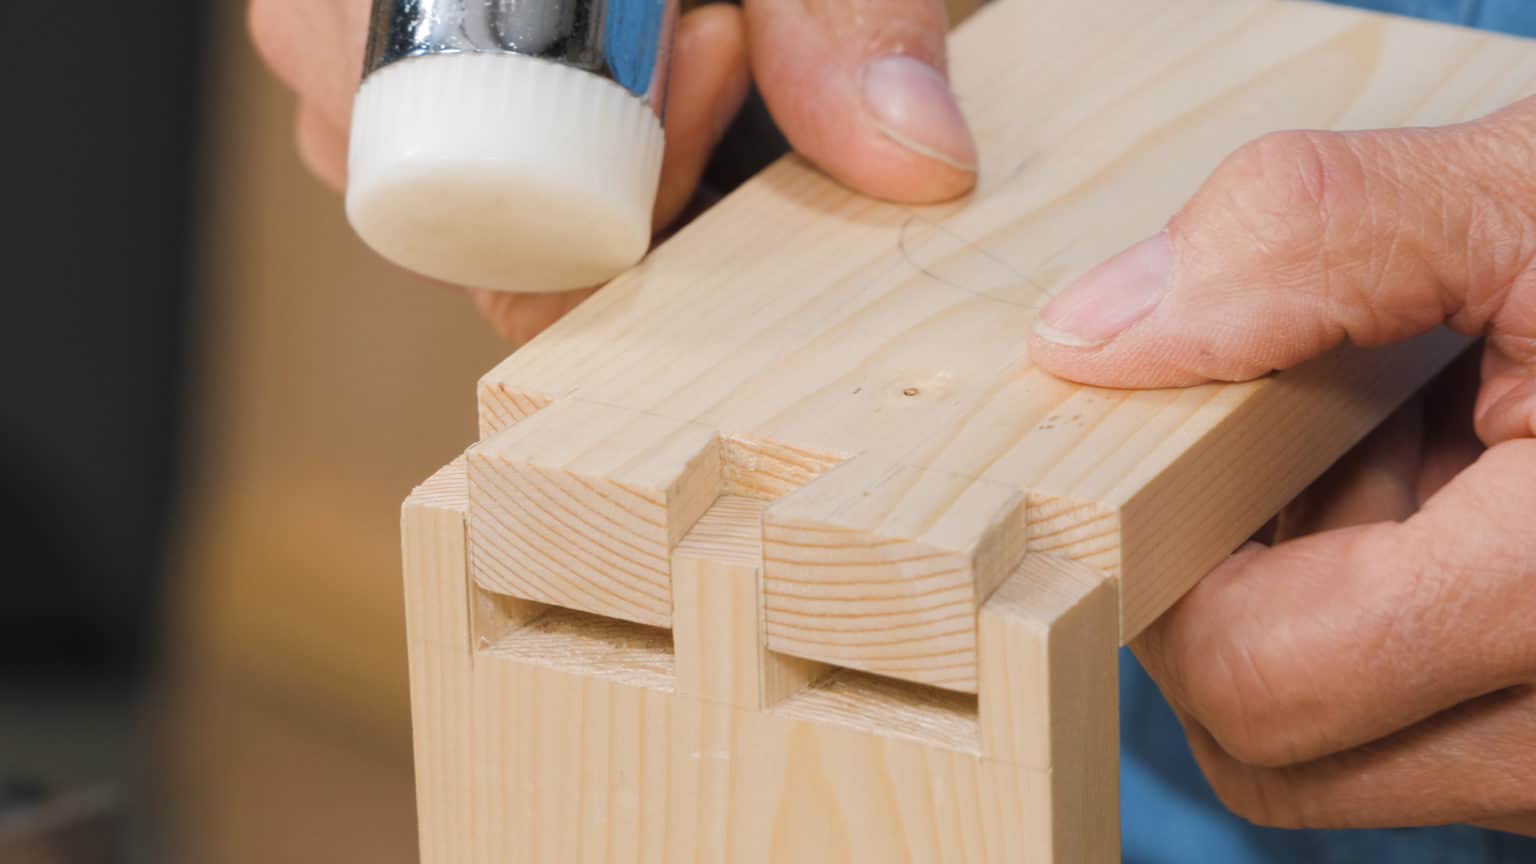
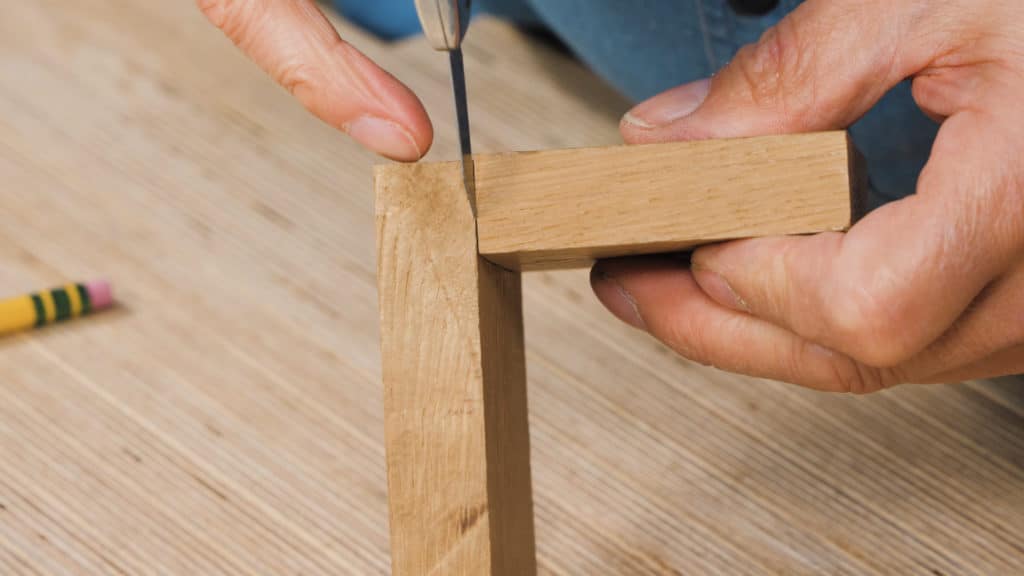
Blog Dovetail Troubleshooting- Part 2 By Izzy Berger 27 January 2020 We opened up our postbox for beginners to send in one of their first dovetail to get advice as to why it may not be the standard they had hoped for. Michael sent in his 3rd dovetail joint, he said he found sawing straight and cleaning up difficult.
Dovetail Troubleshooting Part 2 Common Woodworking
Learn proper fill techniques. Until then, the Timbermate color labeled Maple/Beach/Pine will blend almost invisibly with the color of your drawer side. Just push it in with a putty knife, let it dry a couple of hours and then sand. Edit: Obviously, continue to practice your dovetails so you don't need to repair them.
Dovetail Troubleshooting Part 2 Common Woodworking
Dovetails are often seen as the pinnacle of hand tool woodworking and the sign of a good craftsman, usually intimidating beginners from trying them. But are.

How to Cut a DOVETAIL JOINT with Hand Tools 8 Simple Steps YouTube
353 Share Save 21K views 7 years ago Cool Joinery Techniques, Tricks and Tips Here is a little tip I use to fix gaps in dovetails, box joints and miters. Save your saw dust my friends. Happy.
Dovetail Troubleshooting Part 2 Common Woodworking
Blog Dovetail Troubleshooting- Part 1 By Izzy Berger 24 July 2019 We opened up our postbox for beginners to send in one of their first dovetail to get advice as to why it may not be the standard they had hoped for. One of our members, Jenny, sent in her dovetail in return for feedback from Paul which he critiqued in his YouTube video.
Dovetail Troubleshooting Part 2 Common Woodworking
To repair damaged dovetail joints on painted dark wood furniture, you will need a few tools and materials: Materials: - Wood glue - Sandpaper (coarse, medium, and fine grit) - Wood filler - Putty knife - Matching paint or stain - Paintbrush Tools: - Clamps - Chisel - Hammer - Screwdriver Here are the steps to repair damaged dovetail joints on painted dark wood furniture:

Dovetail Joint 7 Mistakes to Avoid (2021) YouTube
The dovetail key is a device that spans a natural wood defect or a man-made seam to mechanically lock two pieces together. The bowtie shape is cut from solid wood, with the grain running lengthwise, and set into the surface of a board at 90° to the grain. With the key in place, the "butterfly" shape prevents the board (s) from separating.
Dovetail Troubleshooting Part 2 Common Woodworking
Click image to enlarge It is very important to be sure you are using the collar and bit specified by the jig manufacturer. Substitutions seldom work so if you do not have the correct tools, get them; there will be no good dovetail joints until you do.
Dovetail Troubleshooting Part 2 Common Woodworking
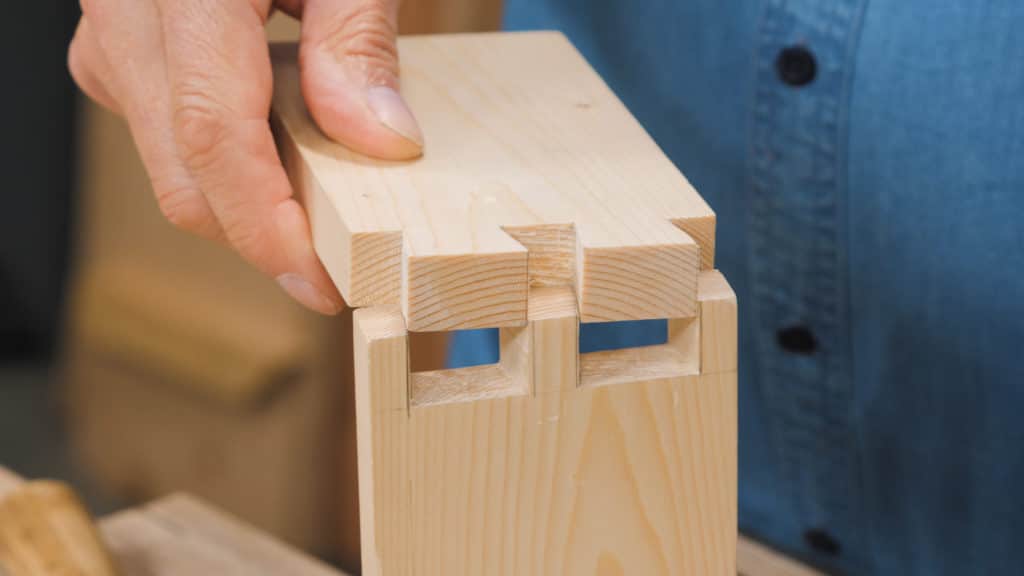
The workpieces should be in contact with the stops, and tight against each other, with the face grain of the horizontal workpiece flush with the end grain of the vertical piece. To speed things up, place workpieces on both ends of the jig as shown. This only works if the width of your pieces is less than half of the jig's capacity. 6.
Dovetail Troubleshooting Part 2 Common Woodworking
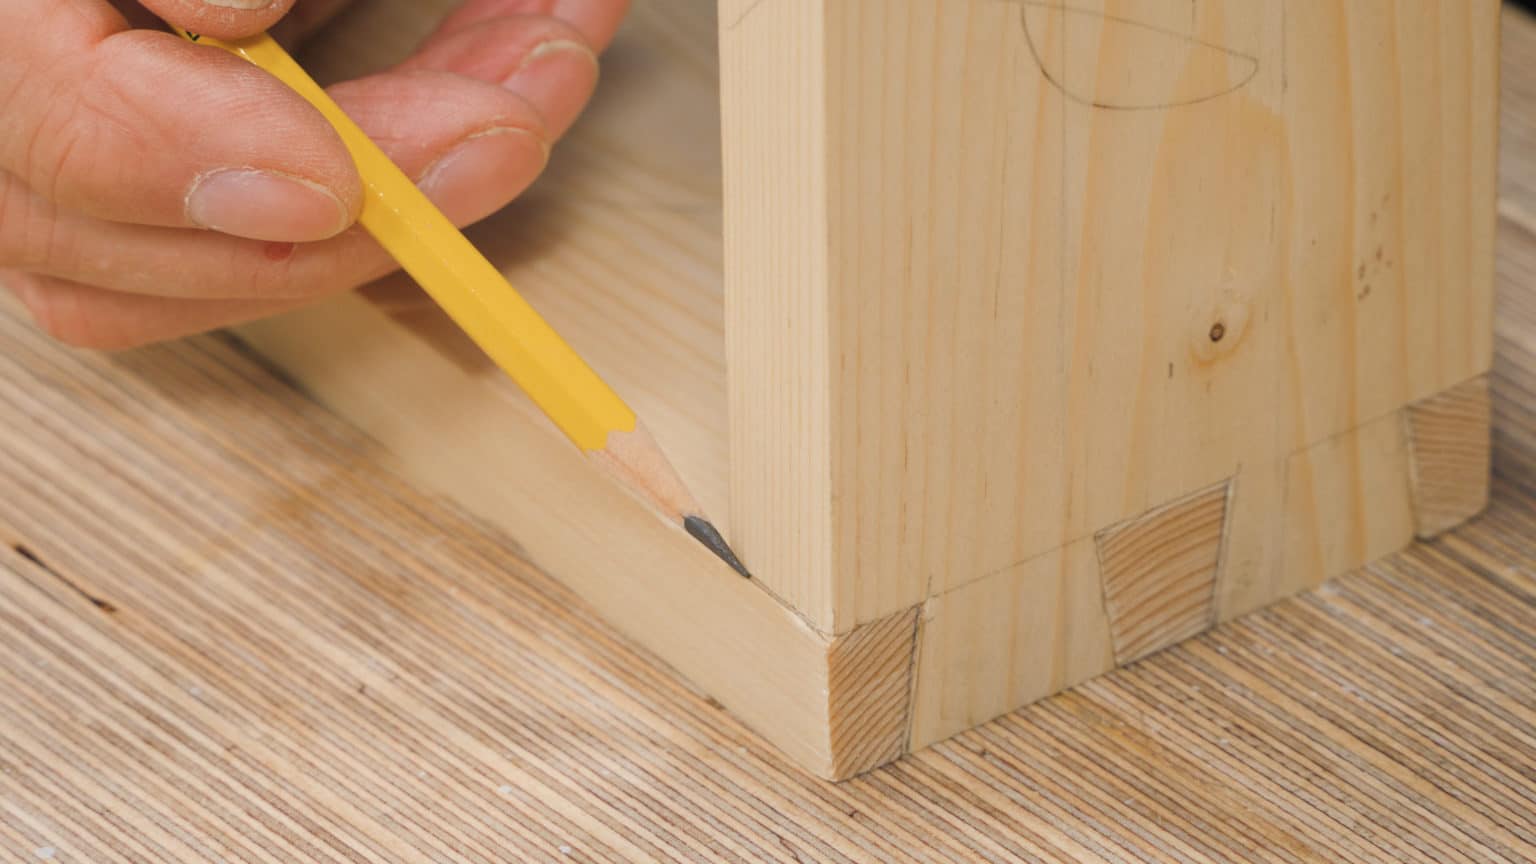
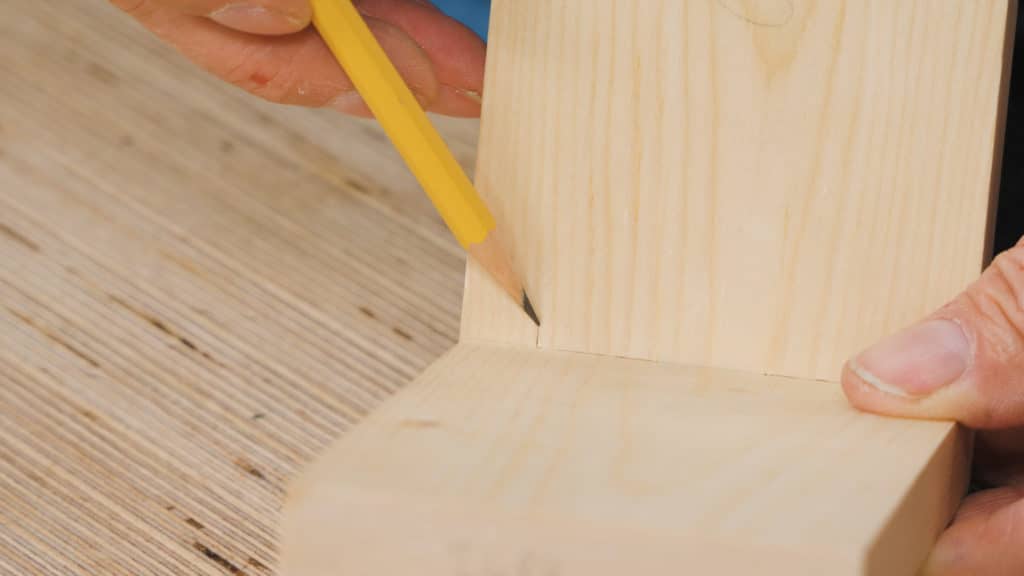
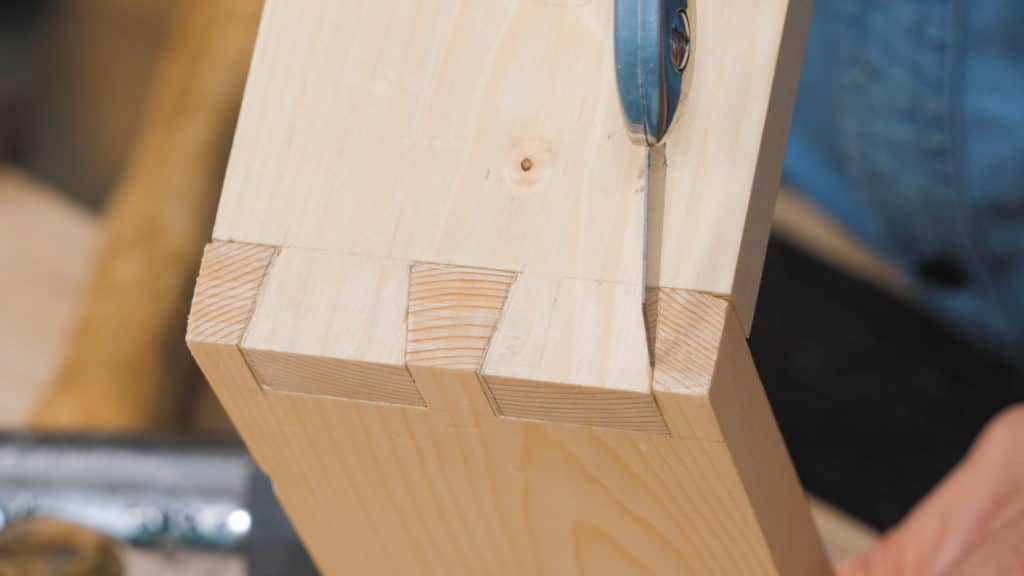
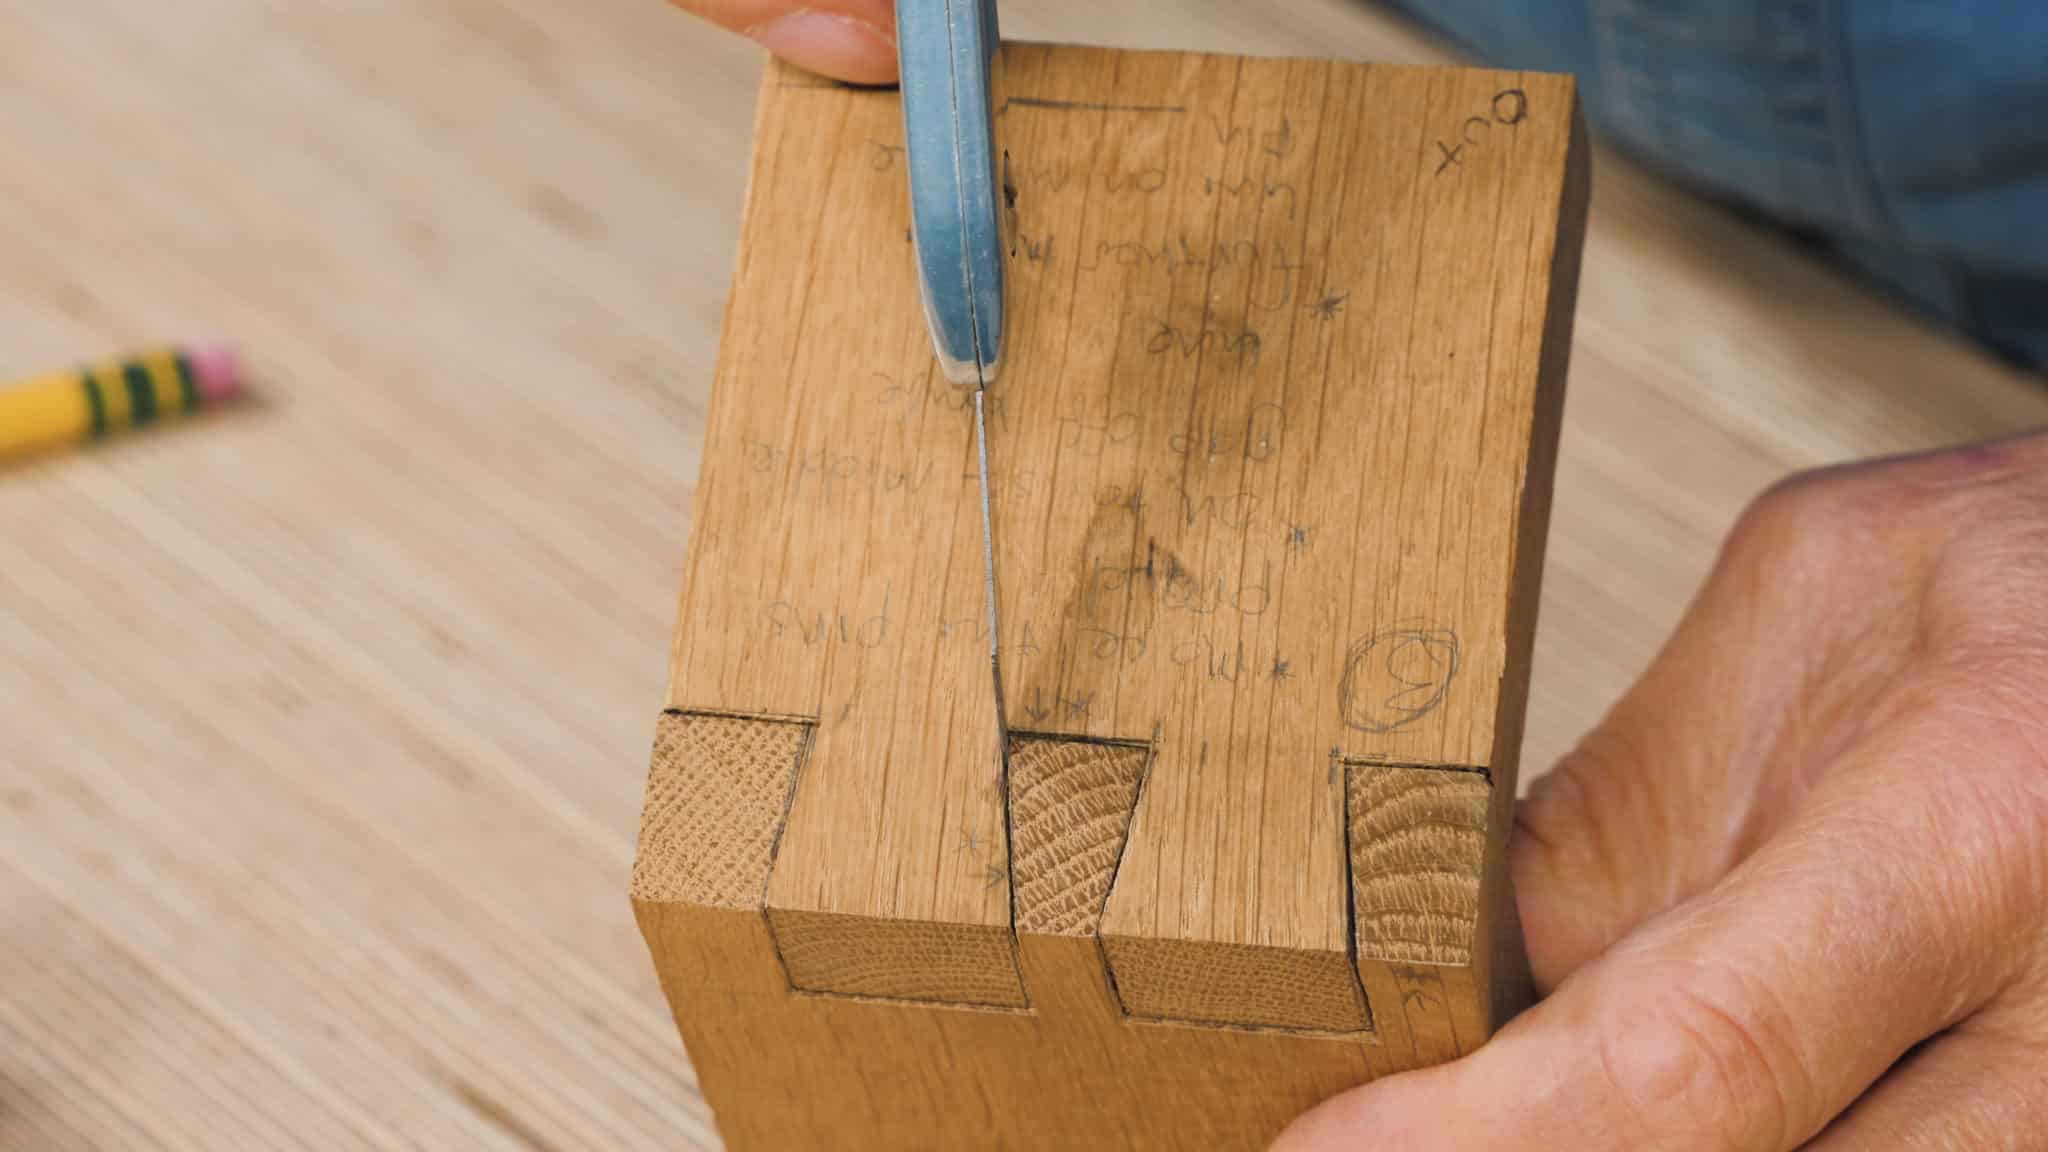
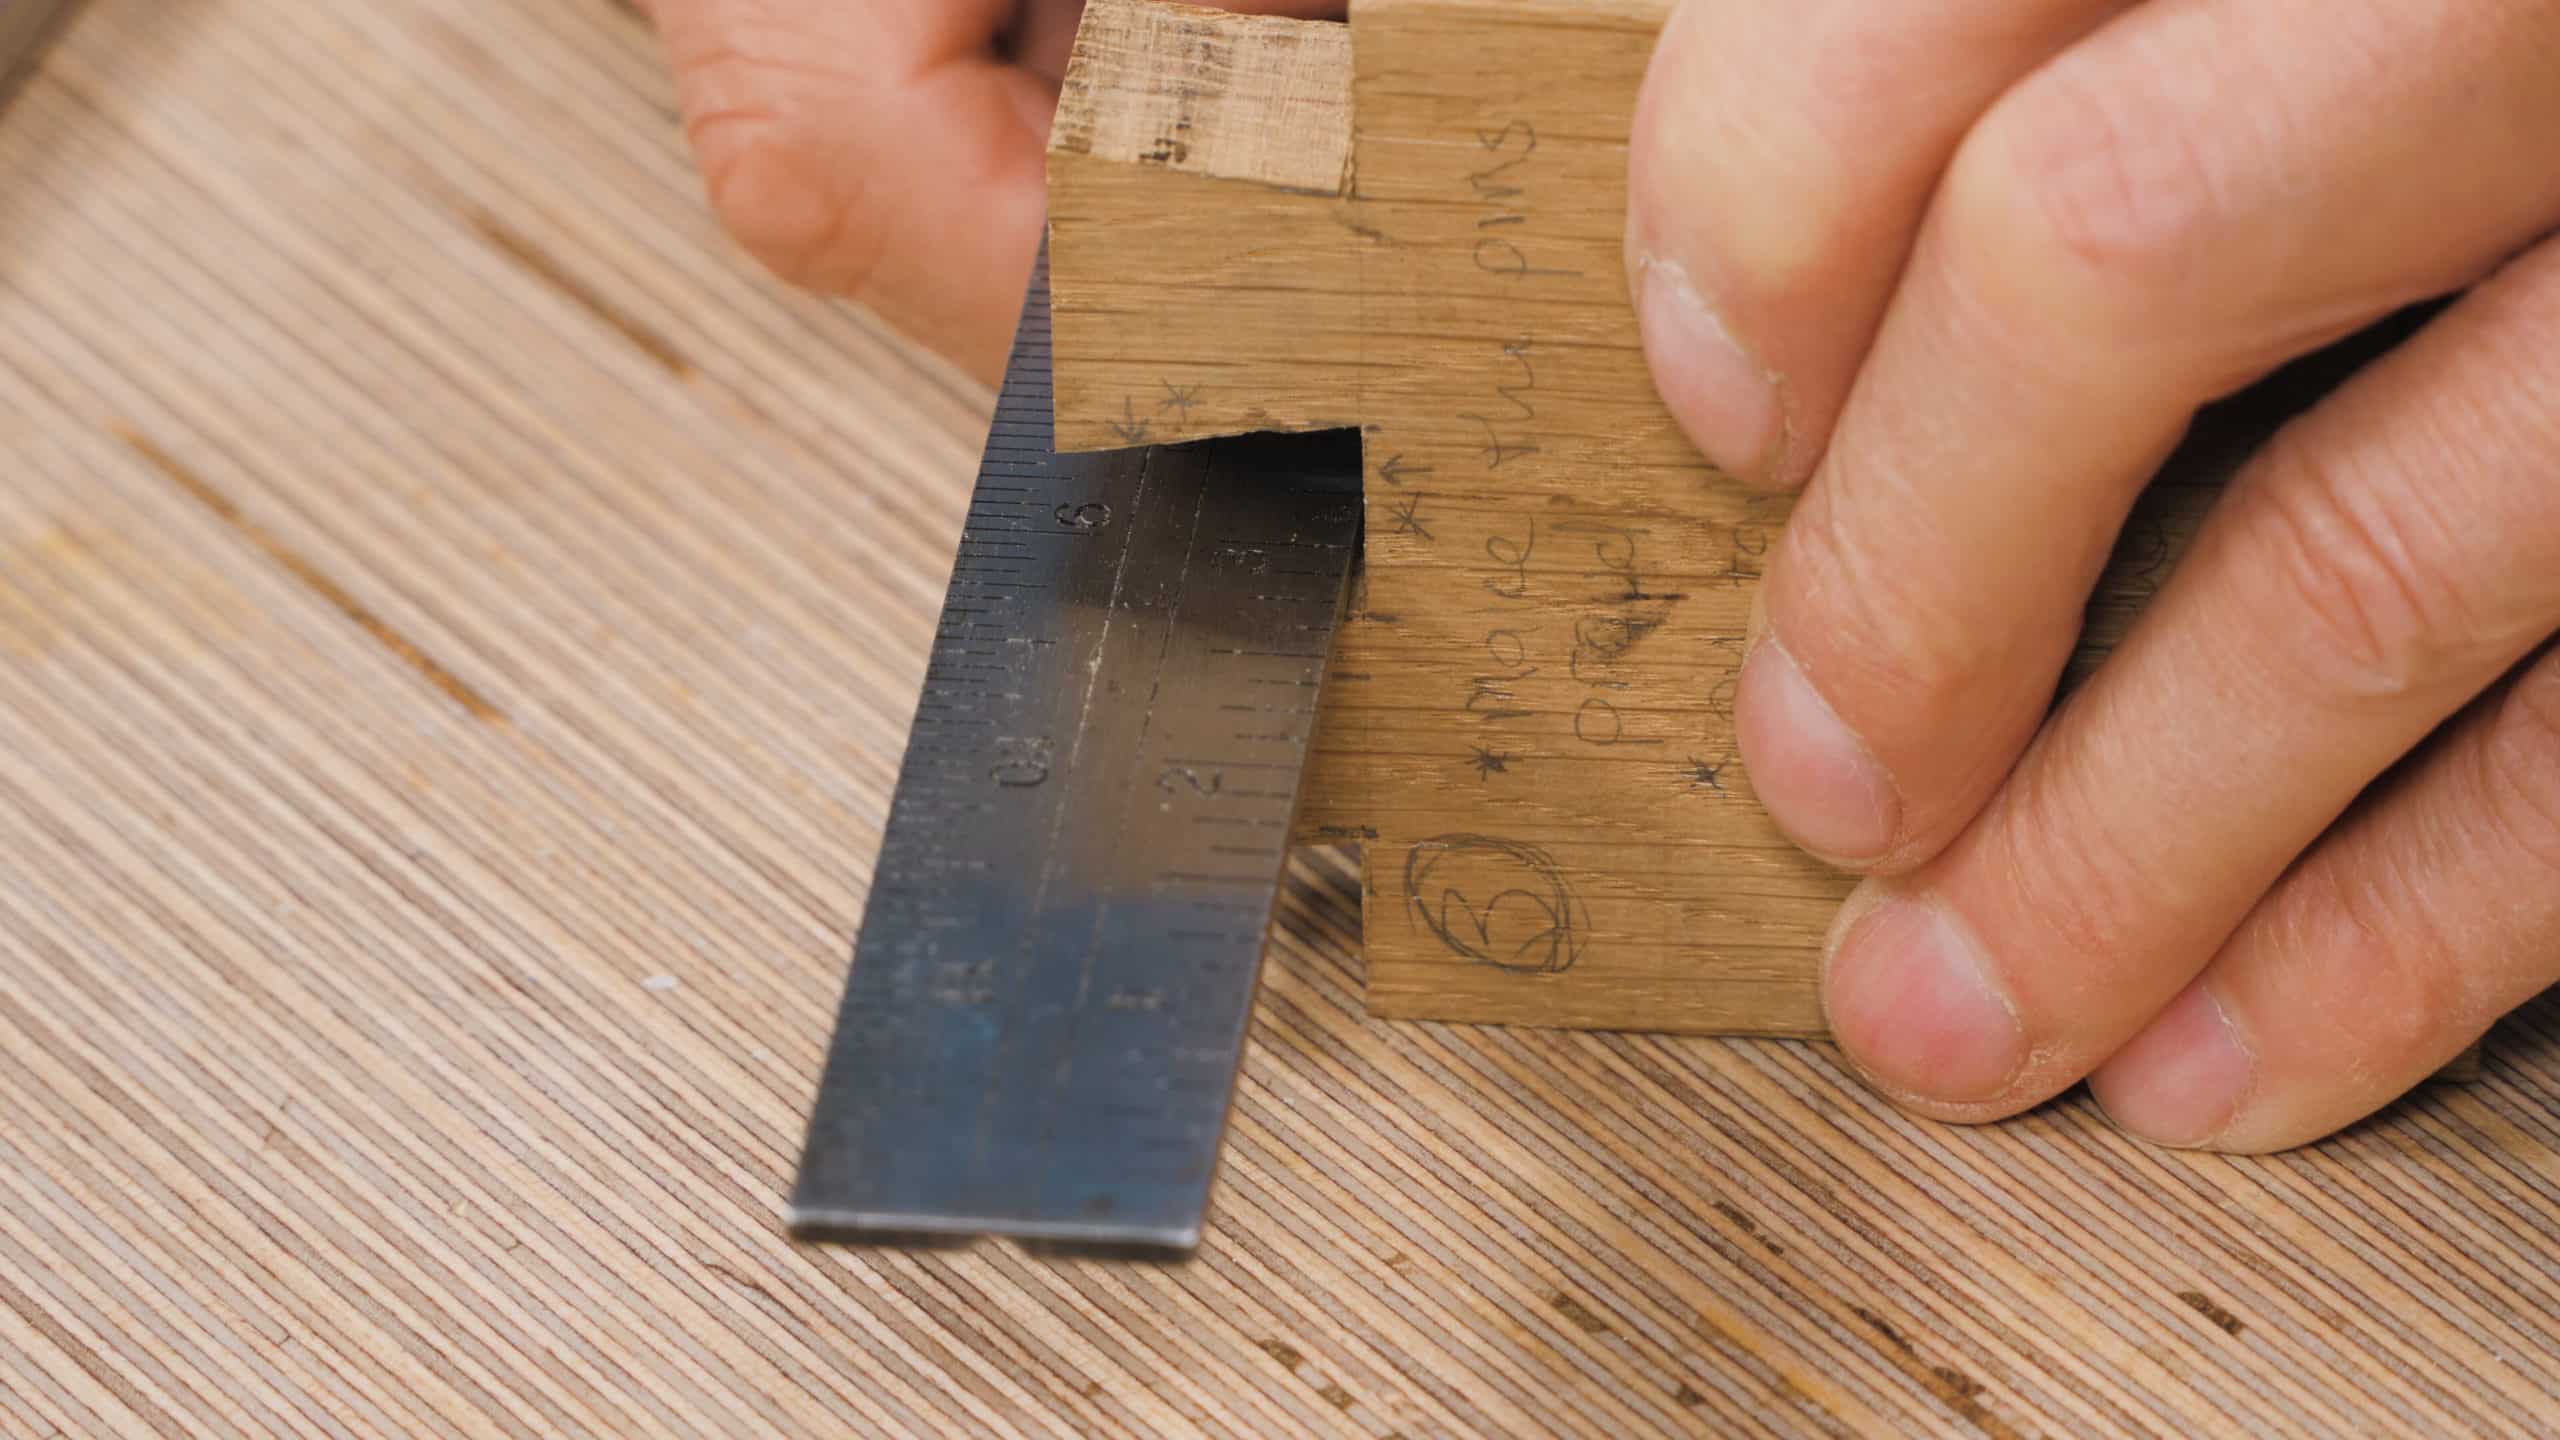
Cut across the wood towards the base of the tails on each side using your dovetail saw. Chisel along your thickness mark to remove the wood between the tails. Avoid chiseling too much, about four or five soft hits should do the trick. Chisel away from the front of the extra wood, removing small bits of wood at a time.
Dovetail Troubleshooting Part 1 Beginner Woodworker Common Woodworking
WW'nTip-of-Day #057: Repair DovetailsThere is a common adage in woodworking, before you fix something you need to make it worse. We explore that idea in repa.